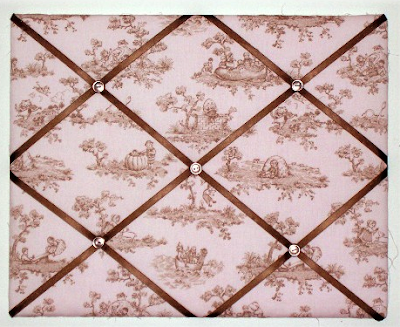
 Bulletin boards are perfect for putting a simple reminder or treasured memory you want to show off front and center in your room! The only part we hate is that tiny, yet oh-so-annoying hole in all of the papers and photos you get as you pin them to the corkboard. Well here’s an easy way to create a stylish bulletin board to match any room’s decor, without the hassle of pins!
Materials:
- Corkboard(s) or Canvas board(s) (whatever size you want your bulletin board to be)
- Stapler (or staple gun)
- Ribbon (enough to crisscross your entire board)
- Buttons or Pins (enough for every intersection of ribbon)
- Fabric (enough to cover the entire board(s) with room for edges)
- Batting (same amount as fabric)
Step One: Place your choice of fabric face down on a flat surface, and layer the batting on top of it
Step Two: Place the corkboard or canvas board face down centered in the fabric and using an open stapler or staple gun, fold the fabric over the edges and attach it to the board. Cut off excess batting and/or fabric in the corners of the board so it lays flat.
Step Three: Turn the board face up, and crisscross your choice of ribbon on the entire board, pulling them taut over the edges and stapling or hot gluing them on the underside in an X pattern.
Step Four: Attach buttons of your choice on the intersections of the ribbon, with hot glue or by sewing them on.
Step Five: Enjoy your new, stylish no-hole bulletin board, or wrap it up with a few treasured photos already in place to make a great gift!